Everything you need to know about the shower tray! (Complete guide)
Everything you need to know about the shower tray. A brief guide to choosing, buying and maintaining. Find out more 👇🏻
Shapes and dimensions of the shower tray
Shower trays are initially distinguished by shape and size. On the market they are available in different shapes and sizes to adapt to the different space and design needs of the bathroom. Among the most common form-factors we have:
-
Square.
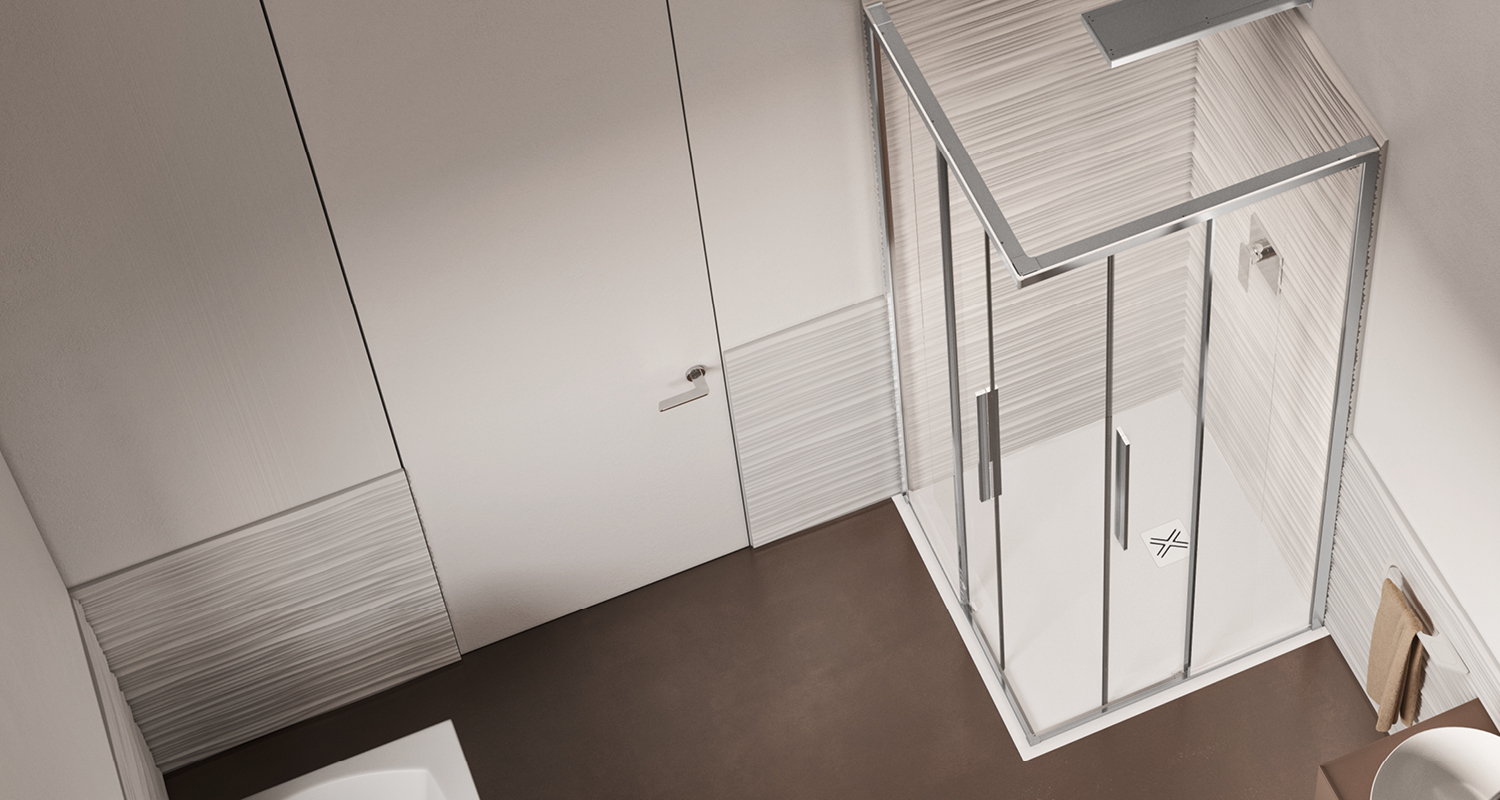
They come in different sizes, but usually range from 70cm to 100cm on each side. They are perfect for smaller bathrooms as they leave enough space in the shower and reduce clutter in the bathroom.
-
Rectangular.
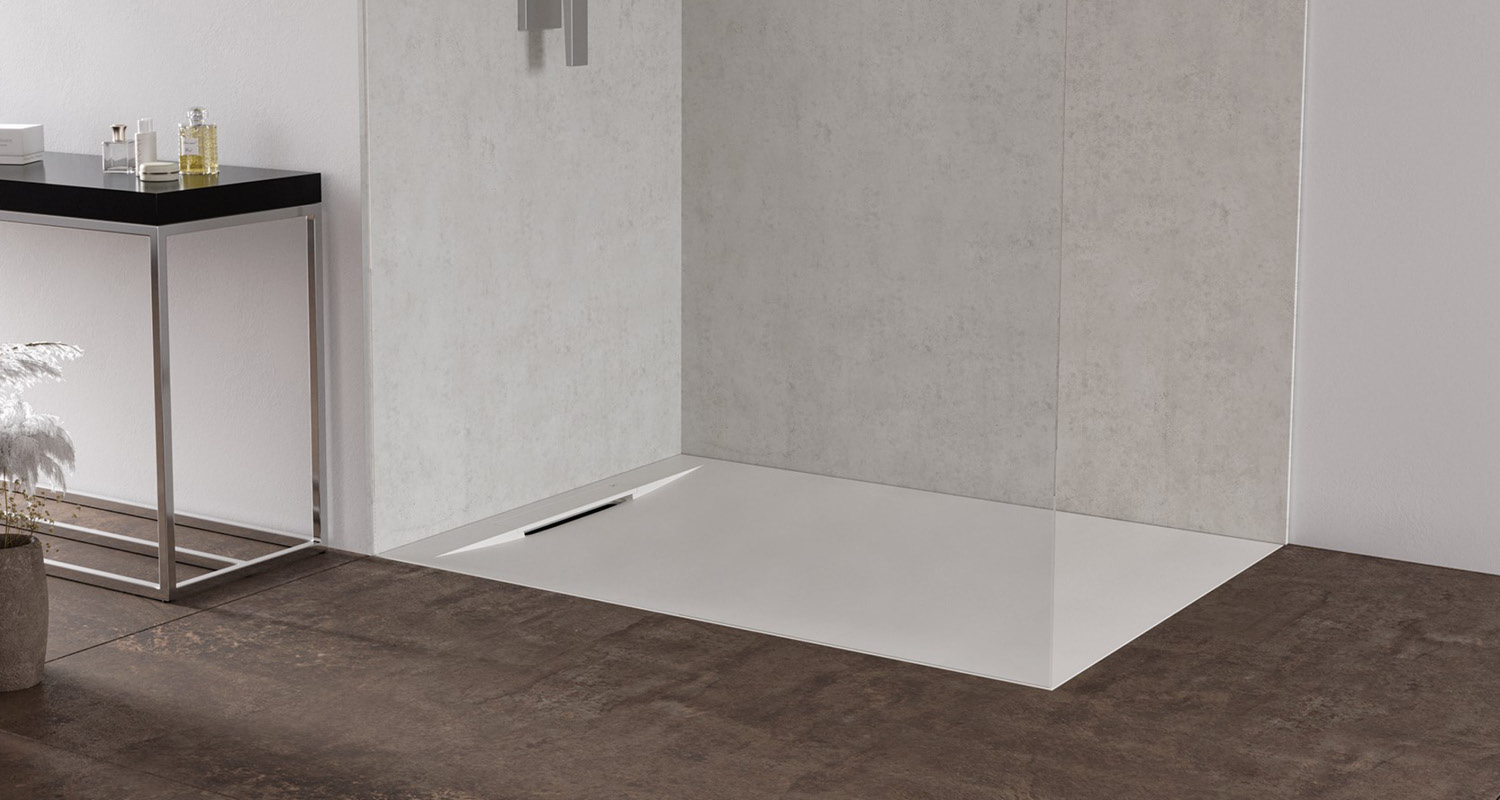
They are available in many sizes, but usually range from 80cm to 180cm in length (and up to 250cm for bespoke solutions) and 70cm to 100cm in width. They are perfect for larger bathrooms and offer more room to move around in the shower.
-
Semicircular.
They are usually found on the market with cuts ranging from 80 cm to 100 cm in diameter. They’re perfect for smaller bathrooms and those looking for a slightly more traditional look.
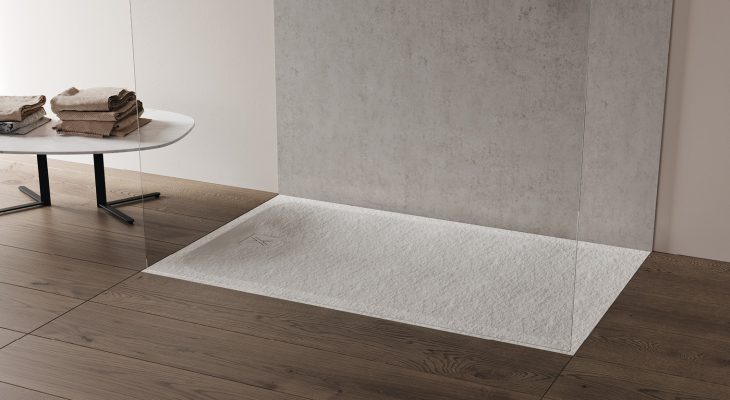
Floor-level, above or under floor installation
Installing a shower tray can vary based on the type of tray you choose. Among the most common for your bathroom, you can choose between floor-level, above-the-floor or under-the-floor shower trays. Each of these installation methods has its own unique characteristics, and below we will describe the differences in a detailed and compelling way.
-
Installation floor-level.
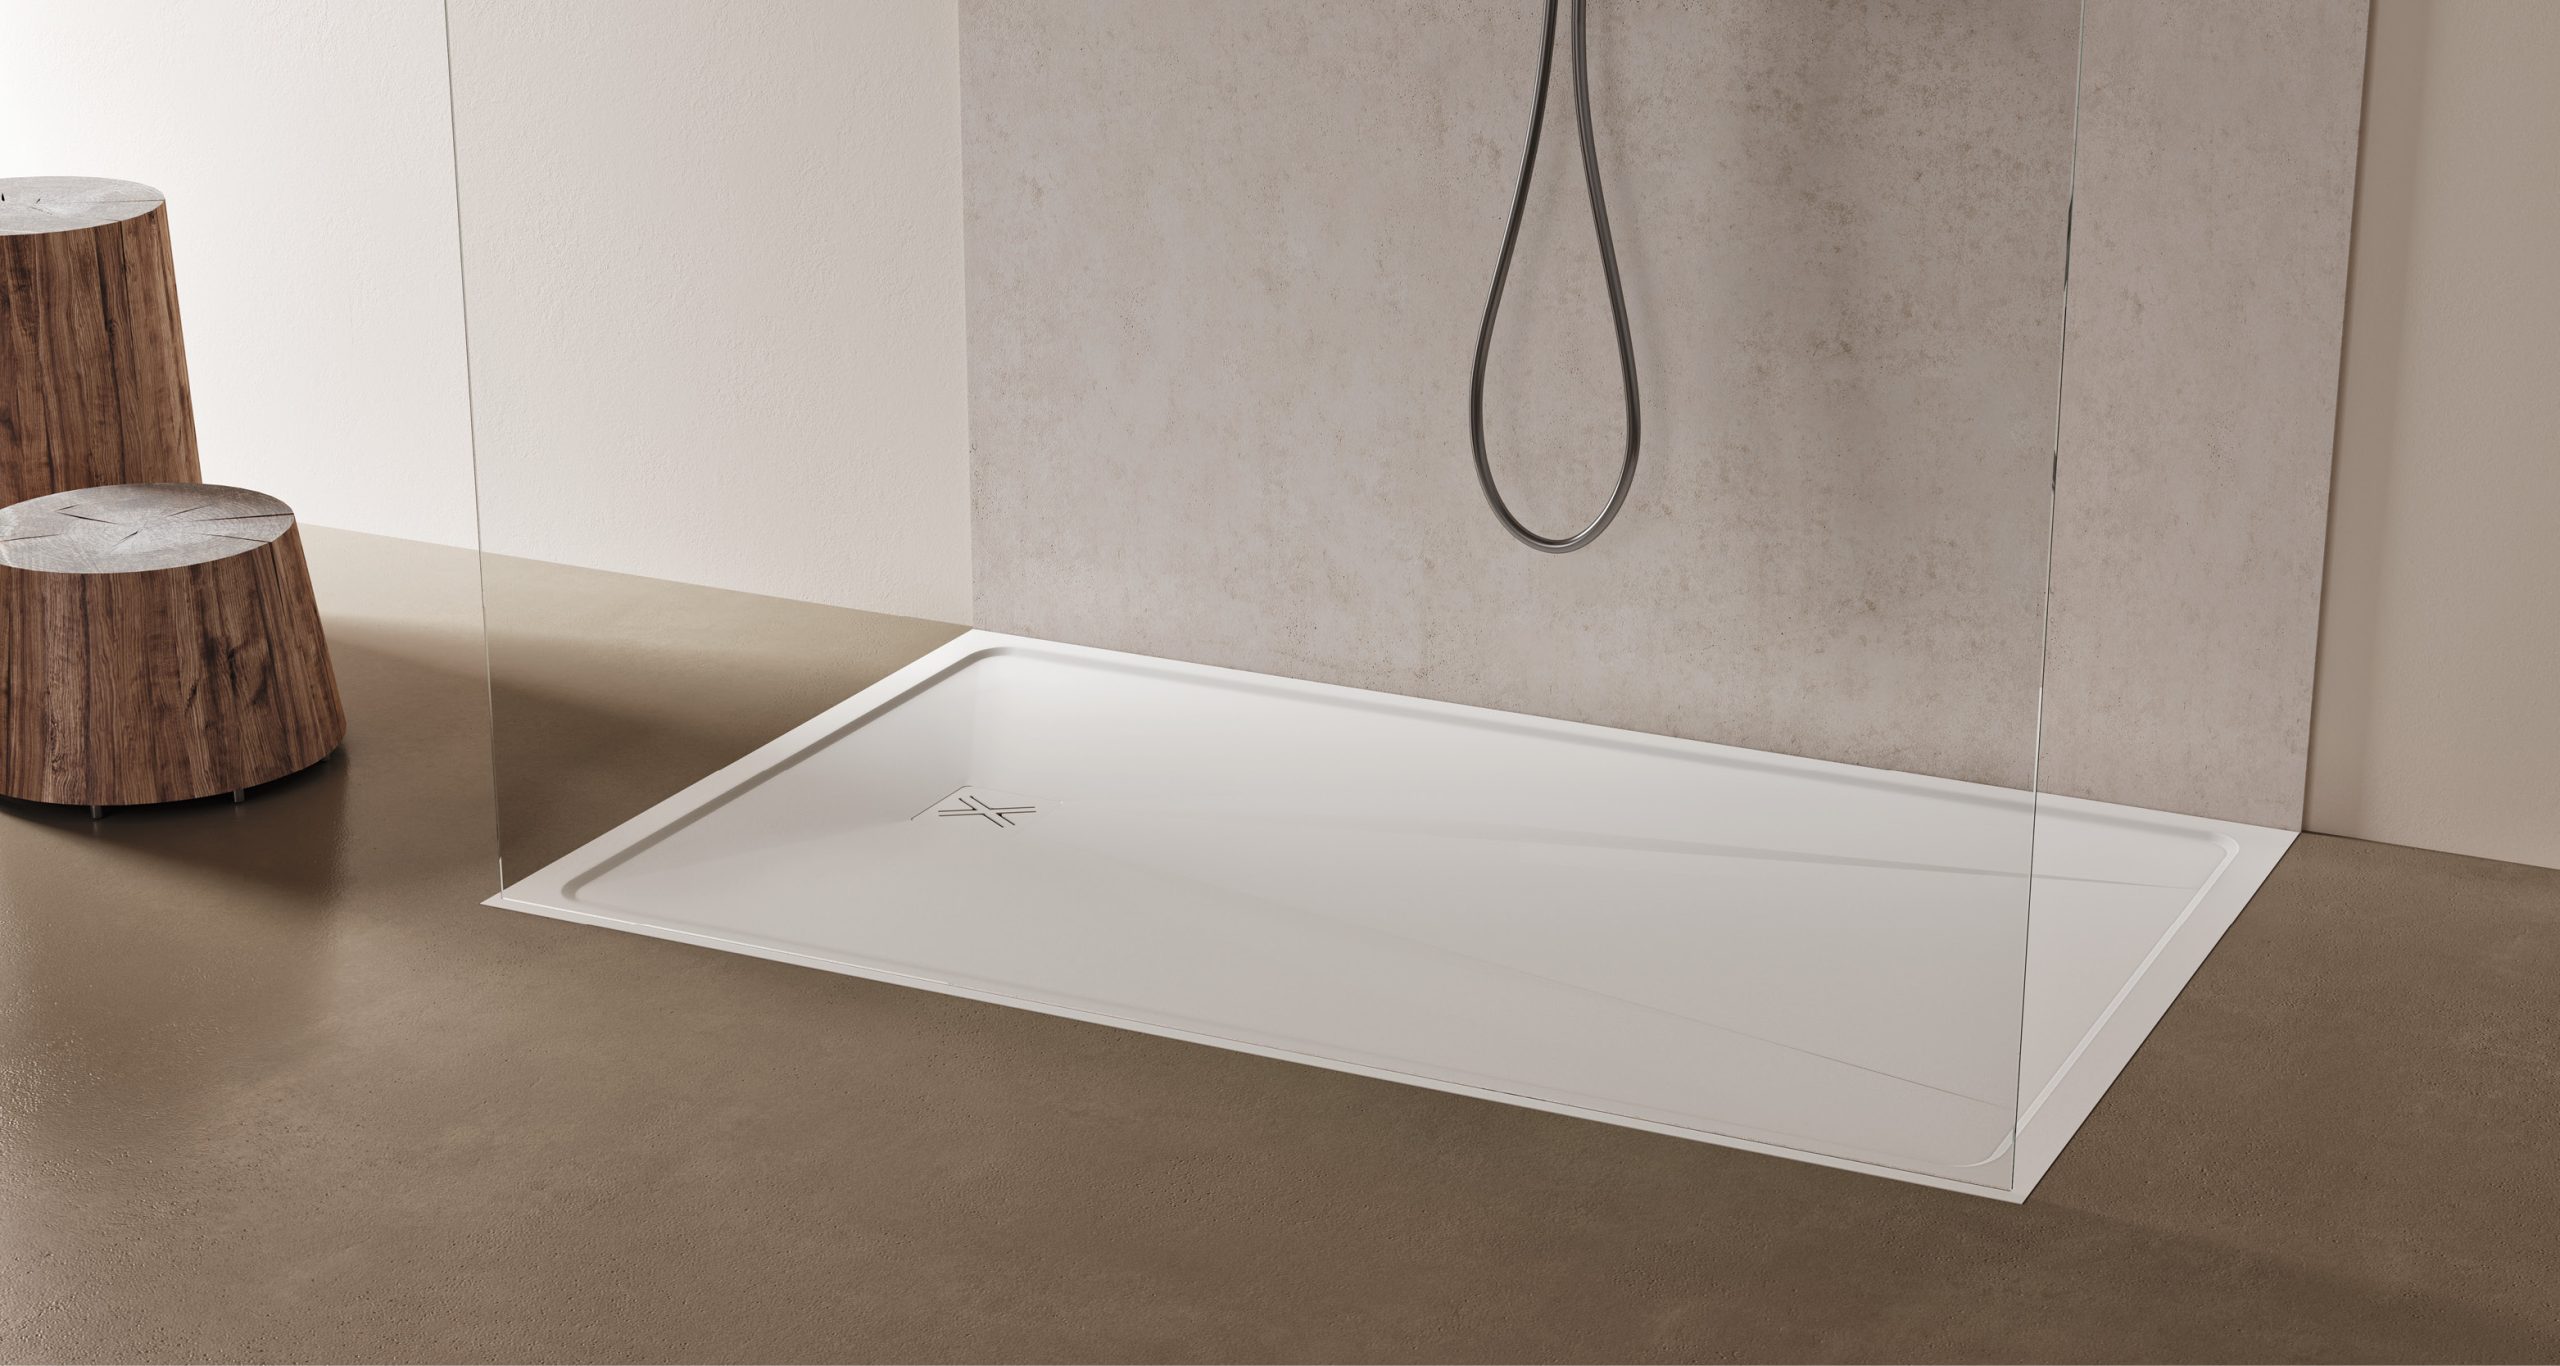
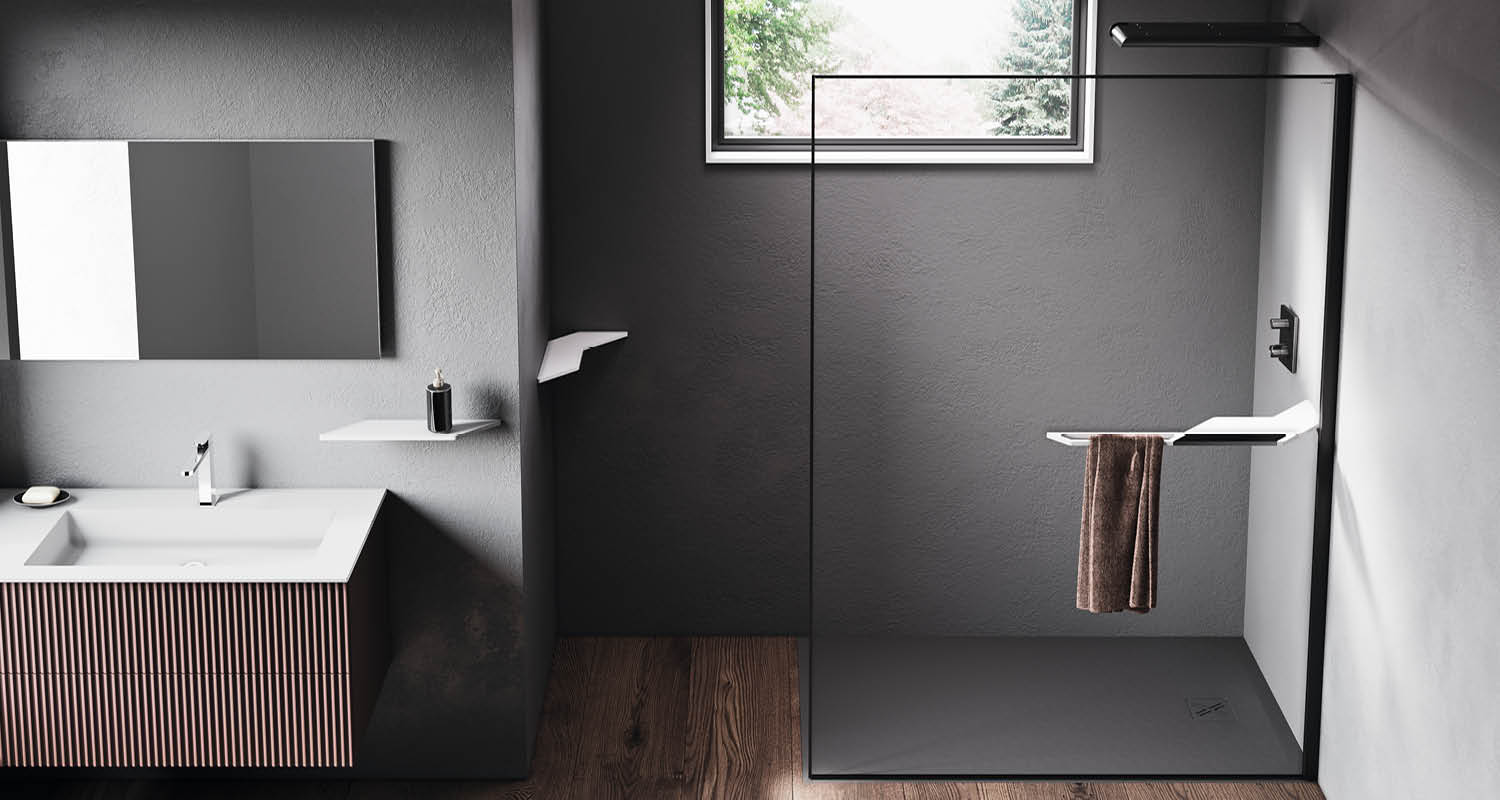
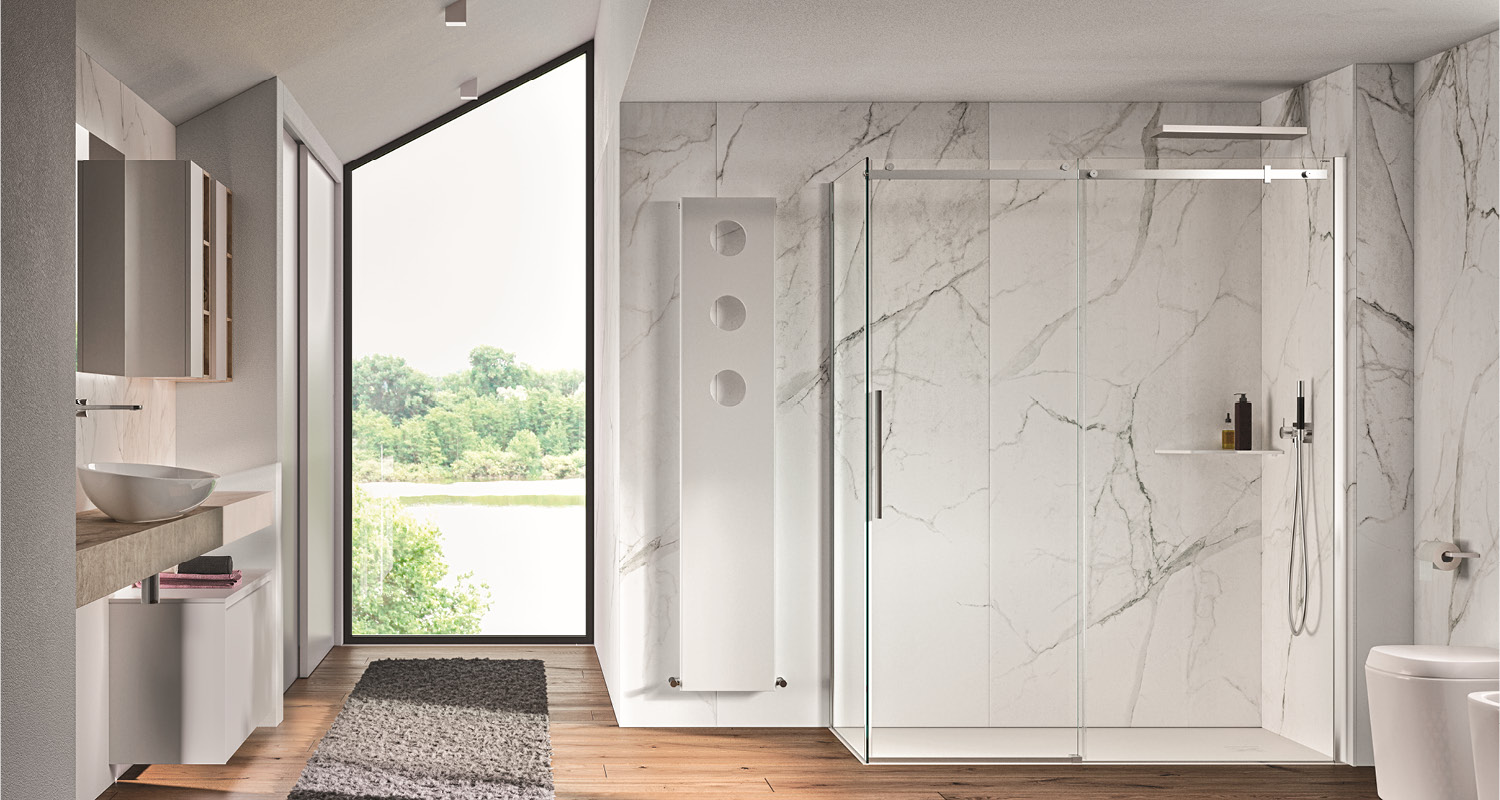
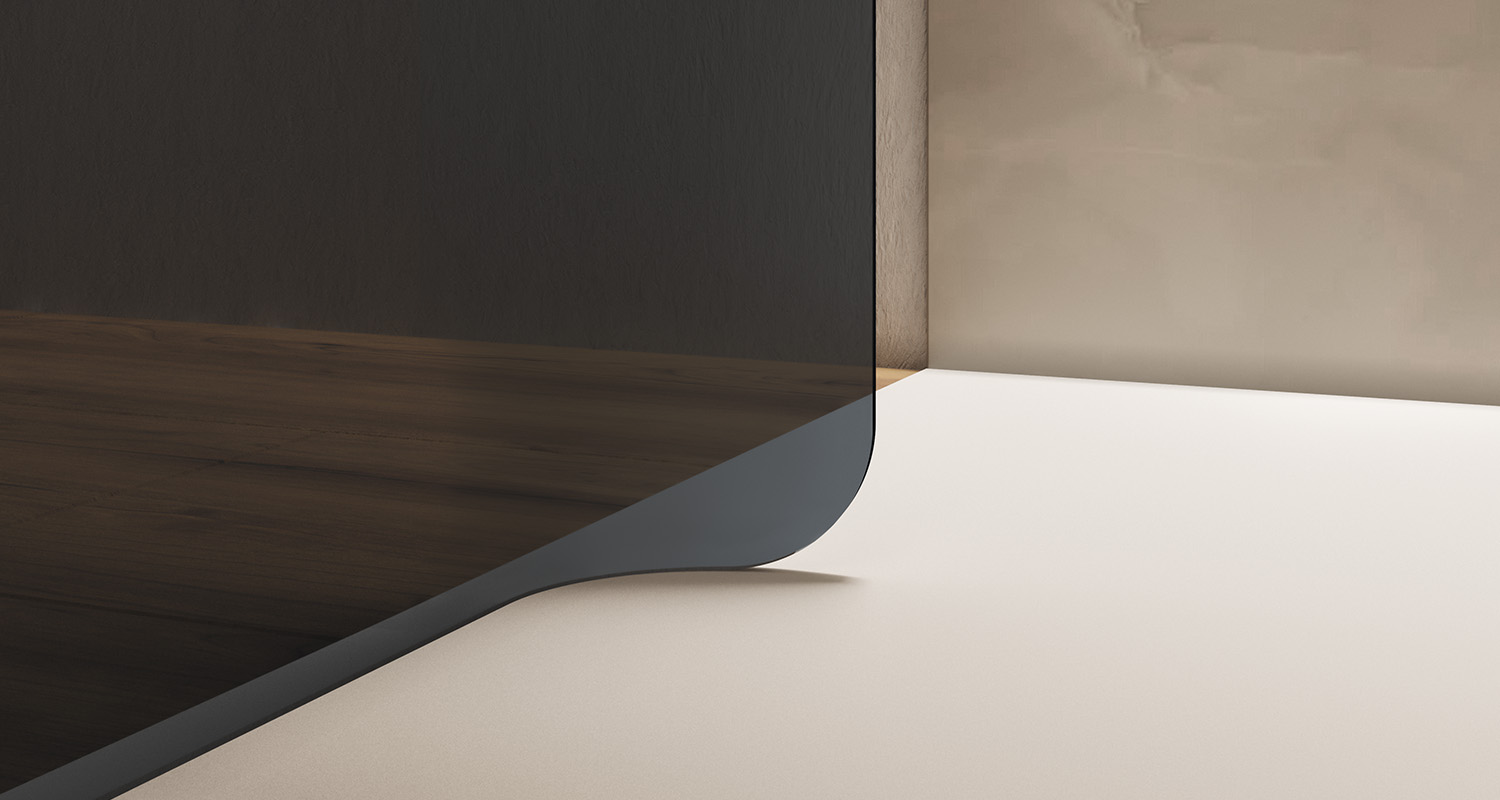
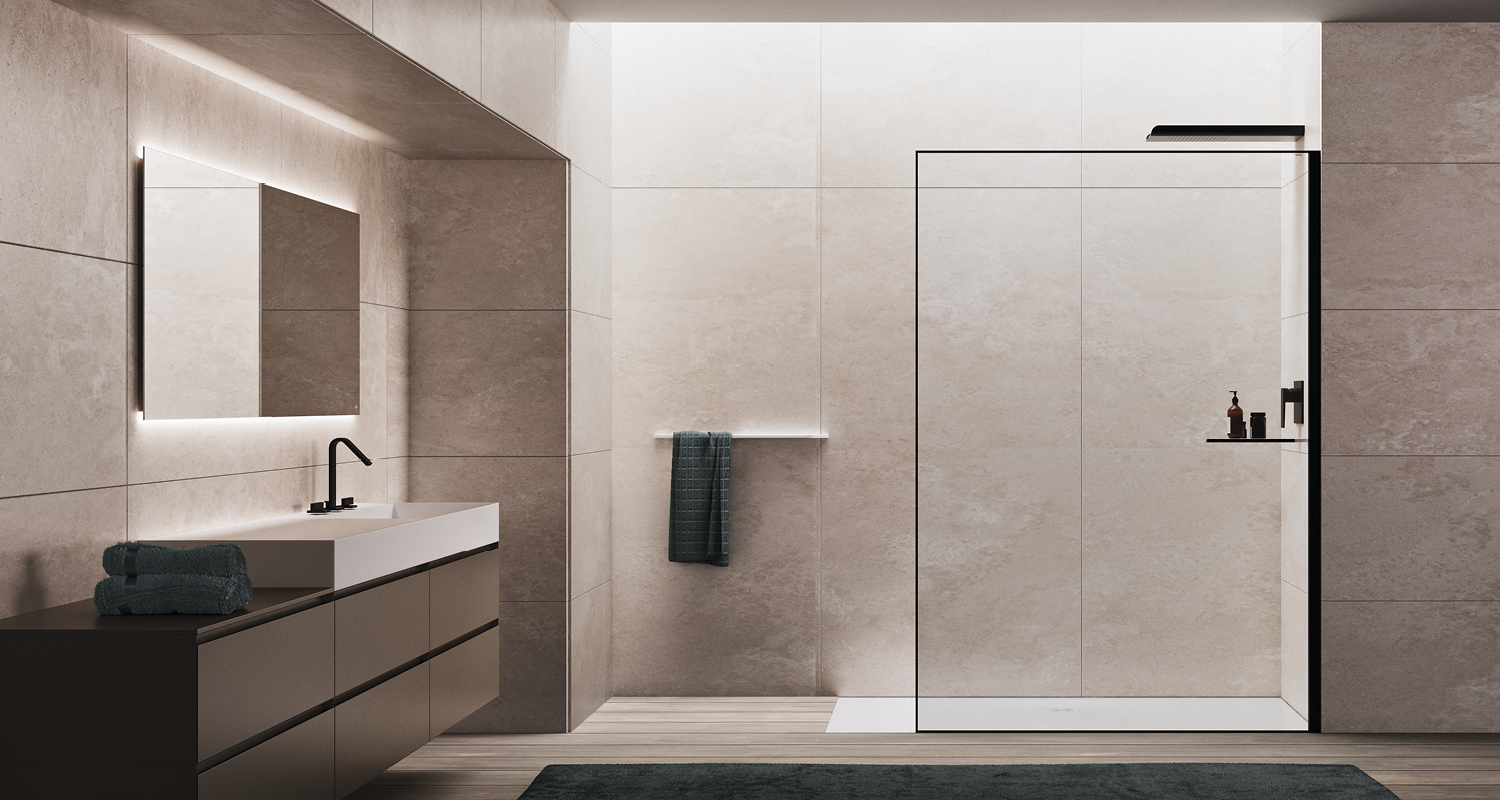
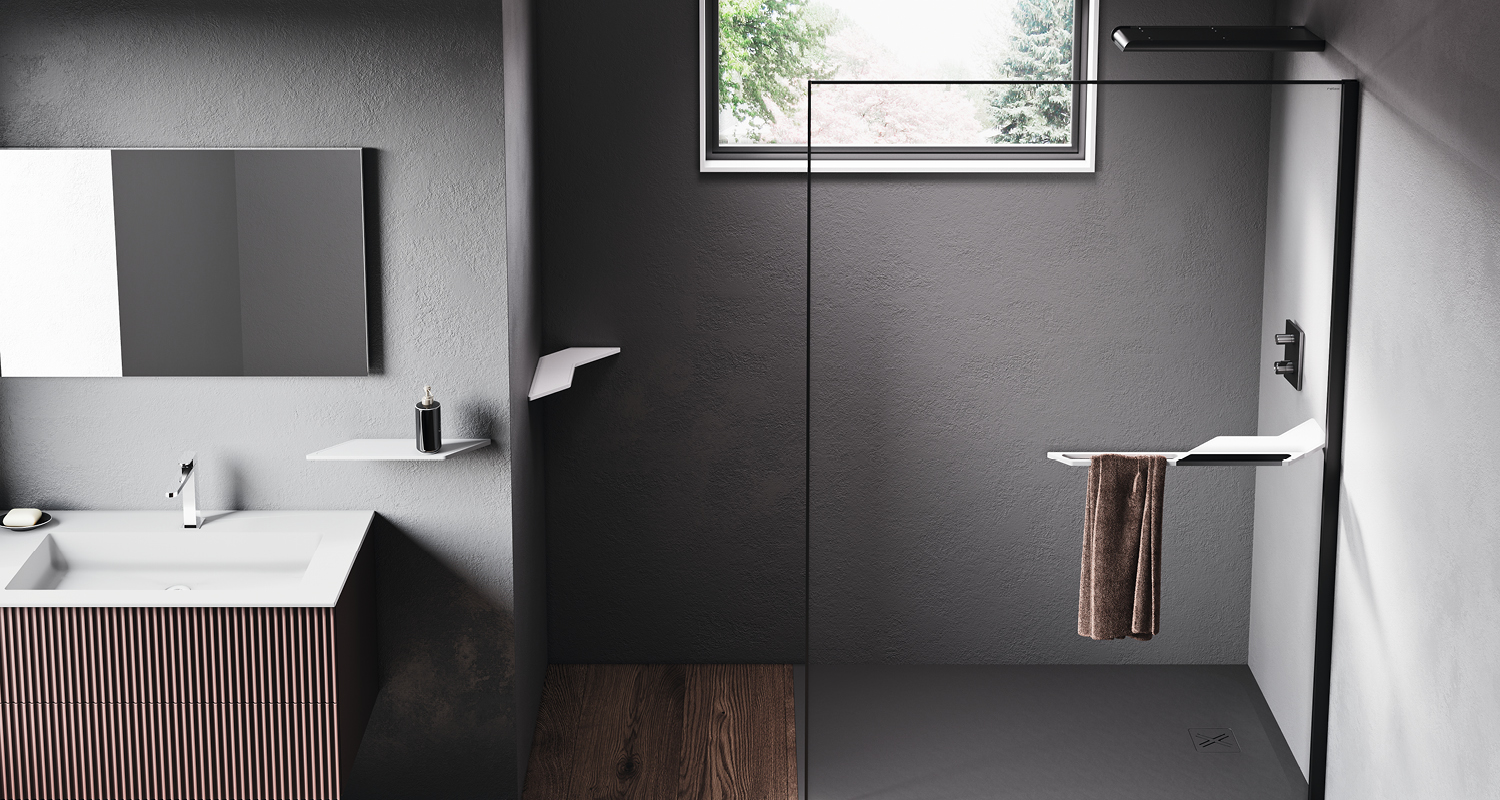
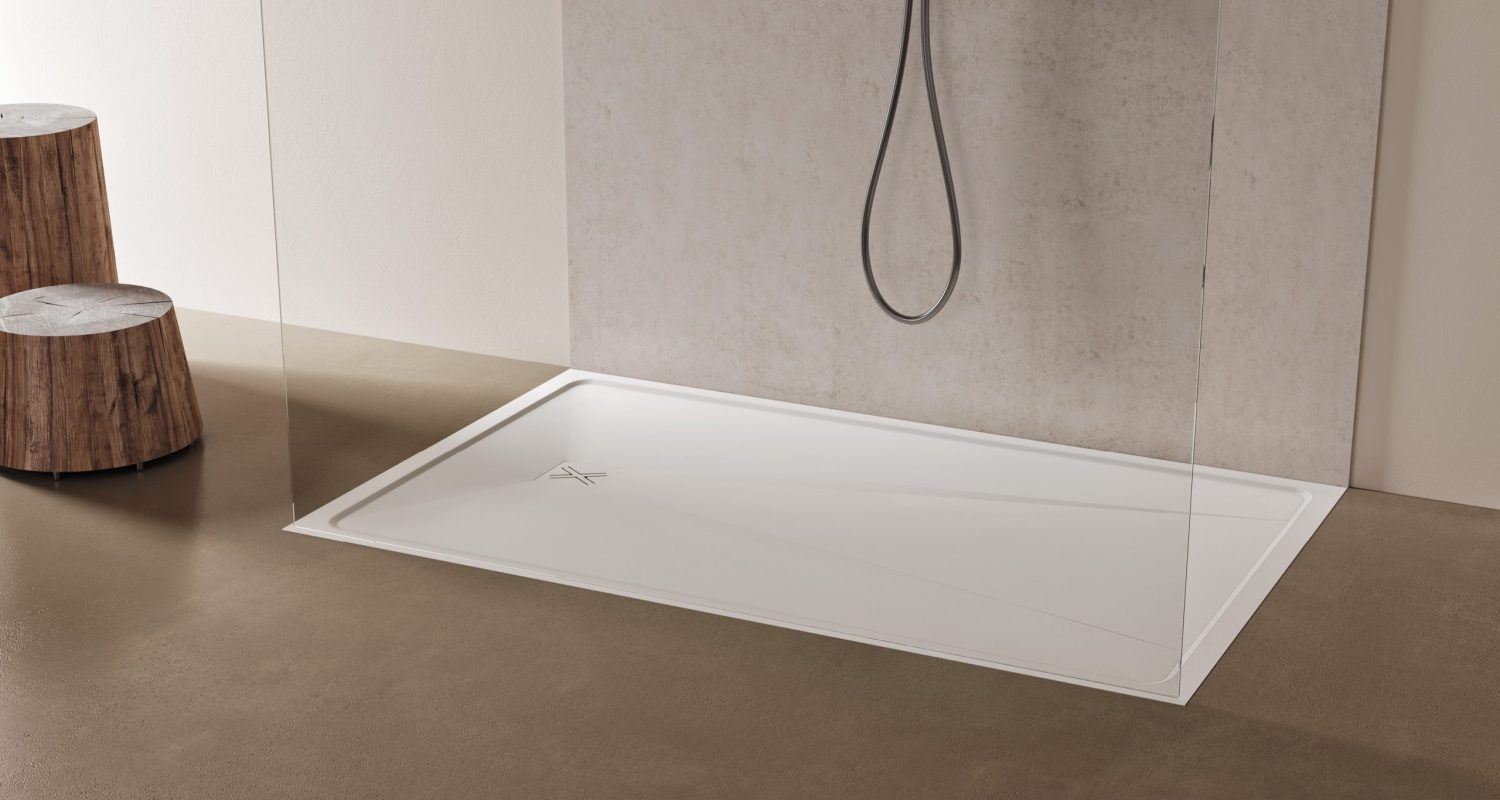
The current trend for the creation of modern and design bathrooms involves the installation of floor-level shower trays. This type of installation allows you to create a minimalist and contemporary look, where the shower tray seems to have almost disappeared. This solution integrates seamlessly into the floor directly, creating a continuous surface that makes the bathroom visually larger. Among the advantages of the floor-level shower tray is the significant reduction in the risk of accidents and falls, thanks to the lack of edges, steps or obstacles between the shower tray and the floor.
-
Installation above the floor.
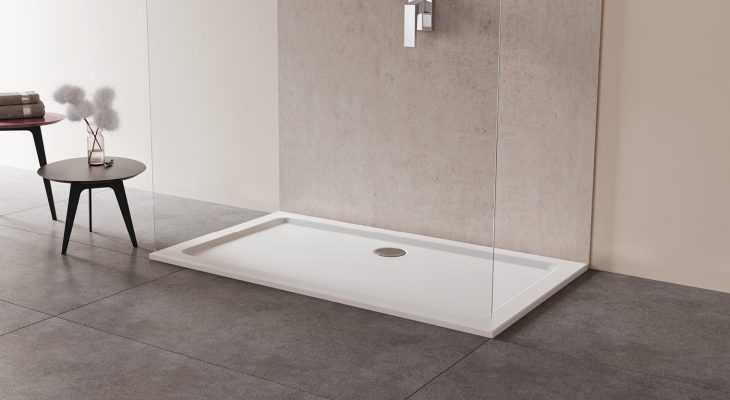
Shower trays that are installed above the floor are raised above the floor. This solution is ideal in case of renovations or if you want to add a shower to an existing bathroom. In this case, the shower tray is positioned above the floor without any particular problems. This type of installation allows you to hide the pipes under the shower tray and create a more elegant and refined visual effect than a traditional shower tray.
-
Installation under the floor.
This solution involves installing the shower tray under the floor, creating an extremely elegant visual effect. This type of installation requires careful preparation of the floor, as the shower tray must be positioned below the level of the latter. Installing the shower tray built into the floor involves masonry work such as the removal of the underlying screed based on the dimensions of our tray and ensuring the flatness of the positioning.
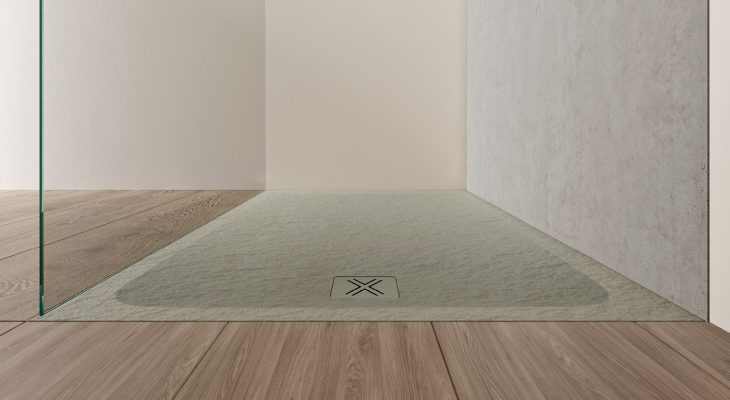
The most common materials for a shower tray
Each material has its own unique characteristics in terms of aesthetics, durability and cost, and the choice of material depends on your personal needs and the style of the bathroom. Let’s see what they are:
-
Ceramics.
Ceramic is a traditional and popular material for shower trays. It is durable, hard wearing and easy to clean, making it a popular choice for classic and contemporary styled showers. Furthermore, ceramic is available in a wide range of colors and finishes, making it suitable for any bathroom style.
-
Resin.
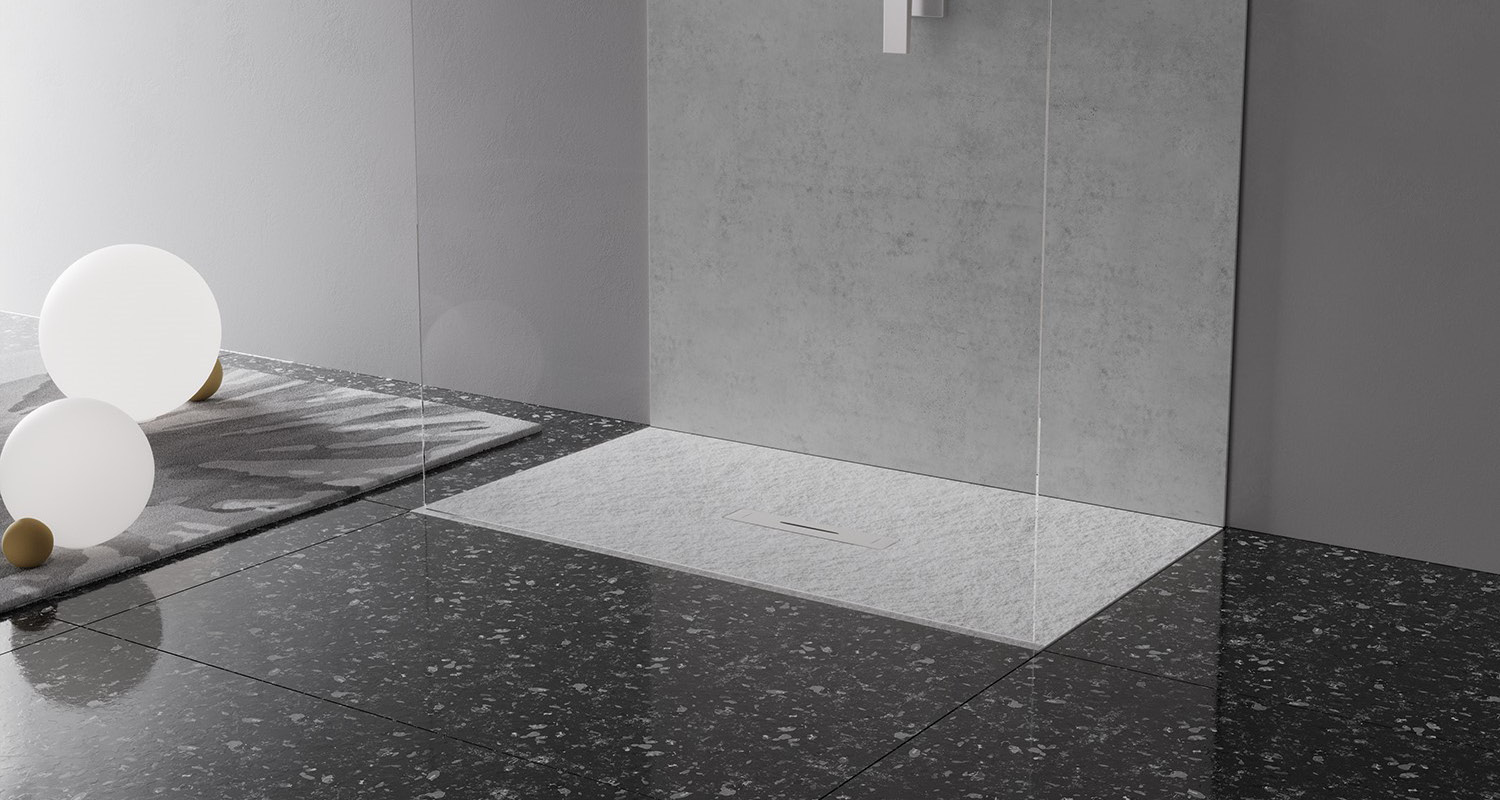
Resin is a light and resistant material that is often used for modern shower trays. It is resistant to stains and scratches, making it a practical choice in any situation. The mineral resins that make up this type of plate are durable and light compared to their ceramic or stone counterparts. Among the main advantages of a resin shower tray is that of being able to independently repair any chips or imperfections, with a practical abrasive sponge or grout. The resin shower tray can also be customised, both in terms of color and texture, a significant advantage for those seeking maximum design even in the bathroom.
-
Acrylic.
The acrylic shower tray is a popular choice for modern bathrooms due to its durability, light weight and ease of installation. Acrylic is a strong, lightweight thermoplastic that’s used for many products, including shower trays, bathtubs, and sinks. Easy to clean and maintain, making it ideal for high traffic washrooms. One of the main advantages of acrylic shower trays is their resistance to cracking and staining. Unlike other materials, such as ceramic or stone, acrylic doesn’t chip or crack easily, or it doesn’t stain easily. Being very light, it is also indicated for a quick and easy installation.
-
Natural stone.
Natural stone is a luxurious and refined material that gives a touch of elegance to the bathroom. It is strong and durable, making it a popular choice for becoming a high quality prop. However, natural stone is only available in nature, yes, this implies a vast range of colors and finishes, but the latter are not always available in the sizes or colors we prefer >.
What to know before assembly
Before assembling the shower tray, there are some important precautions to take into consideration to ensure correct installation and prevent future problems. Here are some helpful tips:
-
Check the flatness of the screed.
Checking the flatness of the screed is a very important step to ensure correct installation. The screed is the surface on which the shower tray is laid and must be perfectly leveled to prevent it from becoming deformed or damaged over time. To check the flatness of the screed, it is possible to use a spirit level or an aluminum ruler as long as the screed itself. In both cases, the verification must be carried out both horizontally and vertically. If the bubble is not in the centre, in the case of the bubble, or if there are empty spaces, in the case of the line, this means that the screed is not perfectly level. In both cases, if imperfections are found in the screed, they can be corrected using a self-leveling product or a ready-to-batch screed, following the instructions on the package.
-
Take measurements.
Taking measurements for your shower pan installation is an important step to ensure proper installation. Here is a guide on how to take measurements for installing the shower tray:
- Choose the location. Before taking the measurements, you need to choose the location and check that there is enough space for the installation. It is also important to take into account access to the waste system and the position of the taps.
- Measure the available space. Once the location has been chosen, it is necessary to measure the available space in width and length. It is recommended to use a tape measure or a ruler to take measurements.
- Check the adequacy of the measurements. Check that the measurements are suitable for the shower tray you intend to purchase. It is important that the measurements are accurate to avoid problems during installation.
- Check for any obstacles. Check for any obstacles in the installation area, such as pipes, electrical sockets or sanitary fixtures, which could interfere with the installation.
- Consider the height. It is also important to consider the height of the shower tray in relation to the floor to avoid any accessibility problems.
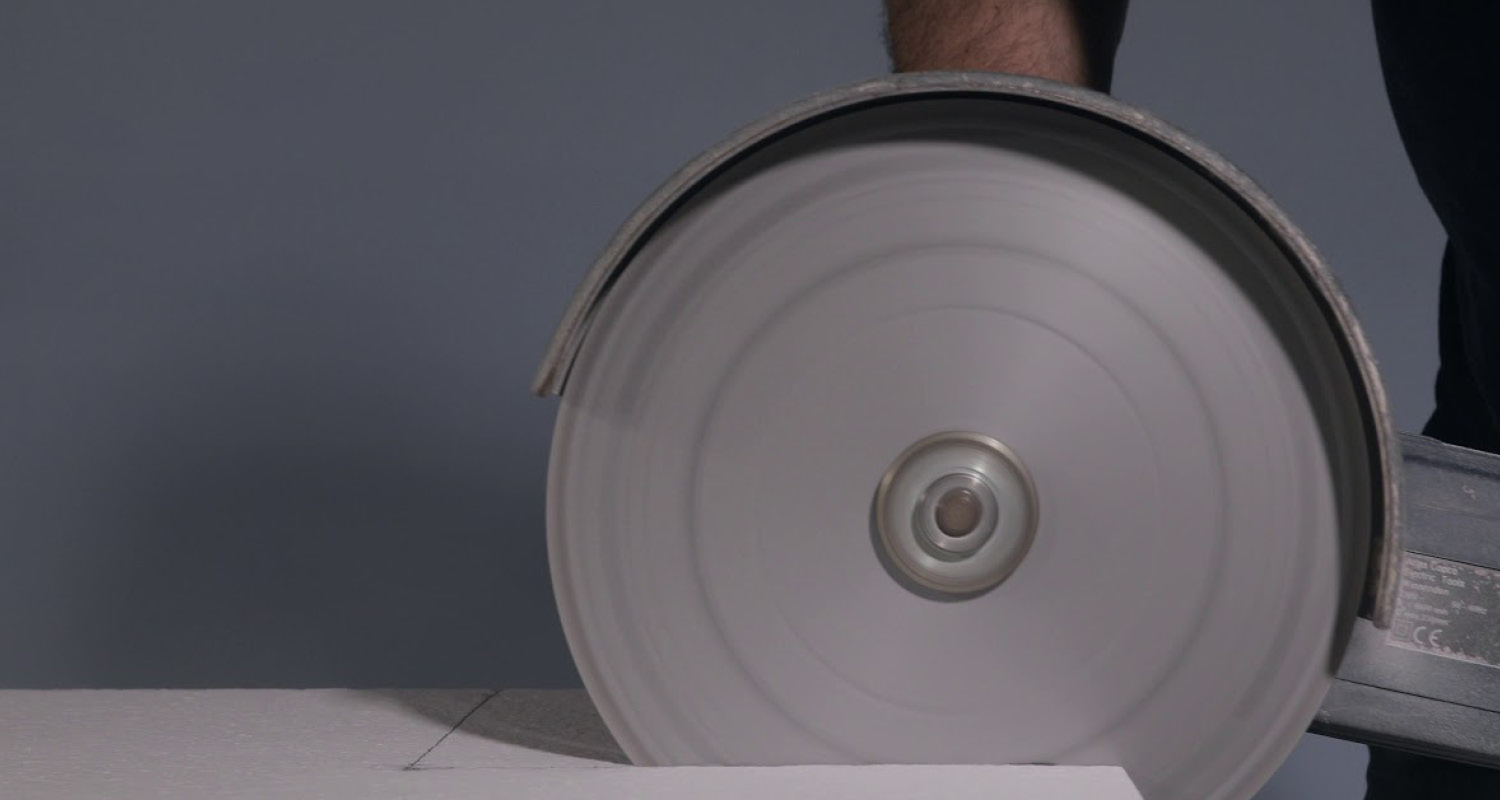
- Check if a cut is needed. If there is not enough space available for installation, it may need to be cut. In this case, it is important to check that the shower tray material can be cut and that the cut is made accurately and safely.
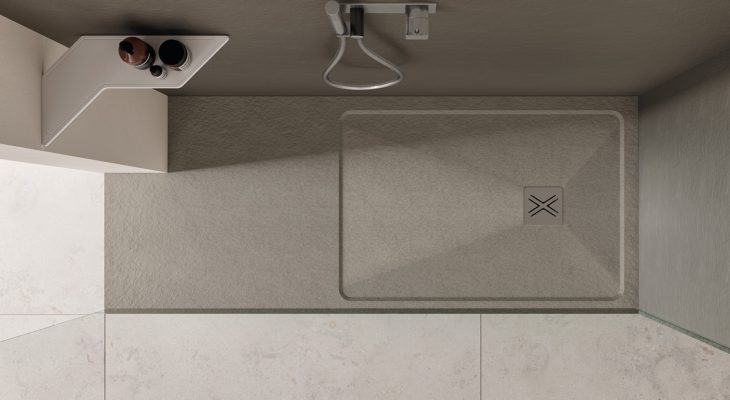
What to know during assembly
To lay the shower tray, it is possible to use 3 different types of fixing, including a special mortar. We have listed them for you:
-
Silicone (faster and better value for money).
Silicone is used for laying because it is a flexible and waterproof material, which guarantees perfect sealing and protection against any water infiltration. Furthermore, silicone has good resistance to high temperatures and atmospheric agents, maintaining its elasticity and durability over time. In particular, silicone is used to seal the edges, i.e. the joint between the shower tray and the walls or floor. These are the critical points where water can leak, causing damage to the underlying structure or favoring the formation of mold and fungi. It is the absolute favorite solution for the excellent value for money.
-
Low expansion polyurethane foam.
Low-expansion polyurethane foam is used to lay the shower tray because it is an insulating, waterproof material and capable of adapting to the irregular shape of the underlying surface. Furthermore, it is a product that has an excellent adhesion capacity, guaranteeing a stable and safe grip of the shower tray. The low expansion polyurethane foam is applied under the shower tray, between its lower surface and the cement screed or support structure. The low-expansion polyurethane foam expands slightly, adapting itself between the plate and the underlying screed, creating perfect and uniform adhesion.
-
Sand and concrete.
The special mortar for shower trays is made up of a mixture of sand, cement and additives which give it elasticity and resistance to water. It is applied to the screed or wall and leveled with a spatula before positioning the shower tray. The mortar must be distributed evenly to ensure excellent adhesion and leveling of the shower tray.
Cleaning and maintenance of the shower tray
To clean the shower tray, it is recommended to use specific products for the materials listed below, avoiding the use of abrasive or acid products which could cause permanent damage.
-
Resin.
For this specific category you can use delicate detergents, such as neutral soap or bicarbonate of soda, diluted in warm water. For scratches and imperfections, where indicated, it is recommended to use an abrasive sponge (usually supplied) which will remove the surface layer. The latter solution is particularly suitable for all products with an opaque colour.
-
Ceramic.
In this case specific products for cleaning sanitary ware can be used, such as toilet cleaner or sodium bicarbonate, diluted in warm water. Also in this case, it is advisable to avoid the use of abrasive or acidic products.
-
Acrylic.
To clean an acrylic base it is important to use delicate and non-abrasive products to avoid damaging the surface. You can use a specific detergent or a neutral soap diluted in warm water. Avoid abrasive products, sponges or rough cloths which can scratch the surface. After cleaning the shower tray, rinse well with warm water to completely remove the soap or detergent residues.
After cleaning, it is important to rinse everything thoroughly with warm water and dry with a soft cloth or sponge.
In general, it is advisable to clean the shower tray regularly, at least once a week, to avoid the formation of stains or soap or limestone deposits.
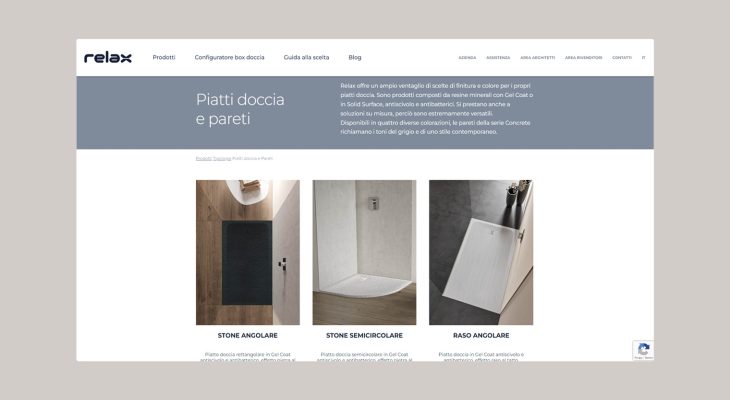
Discover the Relax shower trays
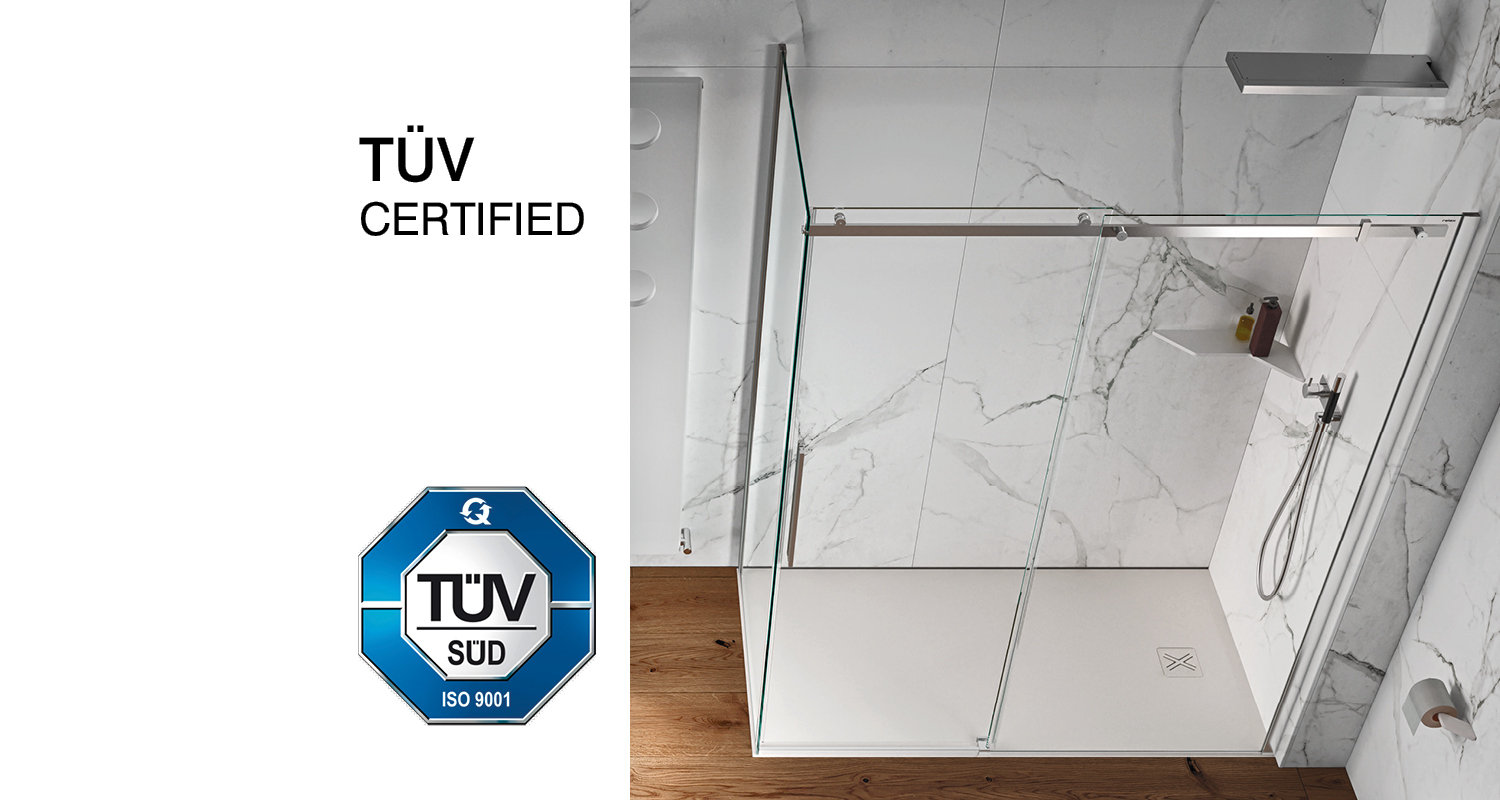
To meet different needs, Relax offers different types of shower trays in its catalogue, each with precise functions and possible customizations, all certified by TÜV SÜD a>, the maximum exponent for European certifications. Discover all the possibilities we have designed for you: https://relaxsrl.com/en/products/types/shower-trays-and-walls/
Conclusions
The shower tray is a fundamental element of the modern bathroom, which allows you to create a comfortable and functional shower area. There are different shapes and sizes, to adapt to different space and style needs, resulting in different choices of always different materials. These choices can make the difference in terms of aesthetics and functionality.
